
Are you fascinated by the shine and durability of gel nails? Becoming a pro at gel nail application isn't just for the salon-savvy. With the right guide, you can elevate your nail game and enjoy stunning, salon-quality nails right from the comfort of your home. Whether you're starting out on your nail tech journey or simply an enthusiast looking to refine your skills, this article is your comprehensive roadmap to achieving flawless gel nails. We'll delve into every aspect of the gel nail process - from preparation to perfection. So, roll up your sleeves, and get ready to embrace the world of gel nails with confidence and flair!
The Fundamentals of Gel Nail Preparation
Before the magic of color and shine begins, proper nail preparation sets the foundation for a stunning gel application. The goal here is to create the perfect canvas by ensuring your natural nails are ready to bond with the gel. Begin by gently pushing back the client's cuticles with a cuticle pusher; this will help maximize the nail plate's area and enhance the gel nail's overall look. A medium arbor band, when used with soft, circular motions, is the tool of choice for meticulously cleaning the cuticle area, making sure to avoid any harsh or aggressive contact. Next, swipe the nails to alter the pH balance while concurrently stripping away any surface debris and oil—an essential step for effective gel adherence. A singular yet fundamental step often overlooked is the application of a protein bonder. Apply two thin layers to the entire nail, allowing each coat to dry before applying the next. This vital action creates a strong bond between the natural nail and the gel, thus preventing premature lifting and ensuring longer-lasting wear. Remember, preparation is king in the realm of gel nails; meticulous attention to this phase reaps substantial, enduring rewards.
Essential Gel Nail Products and Application Techniques
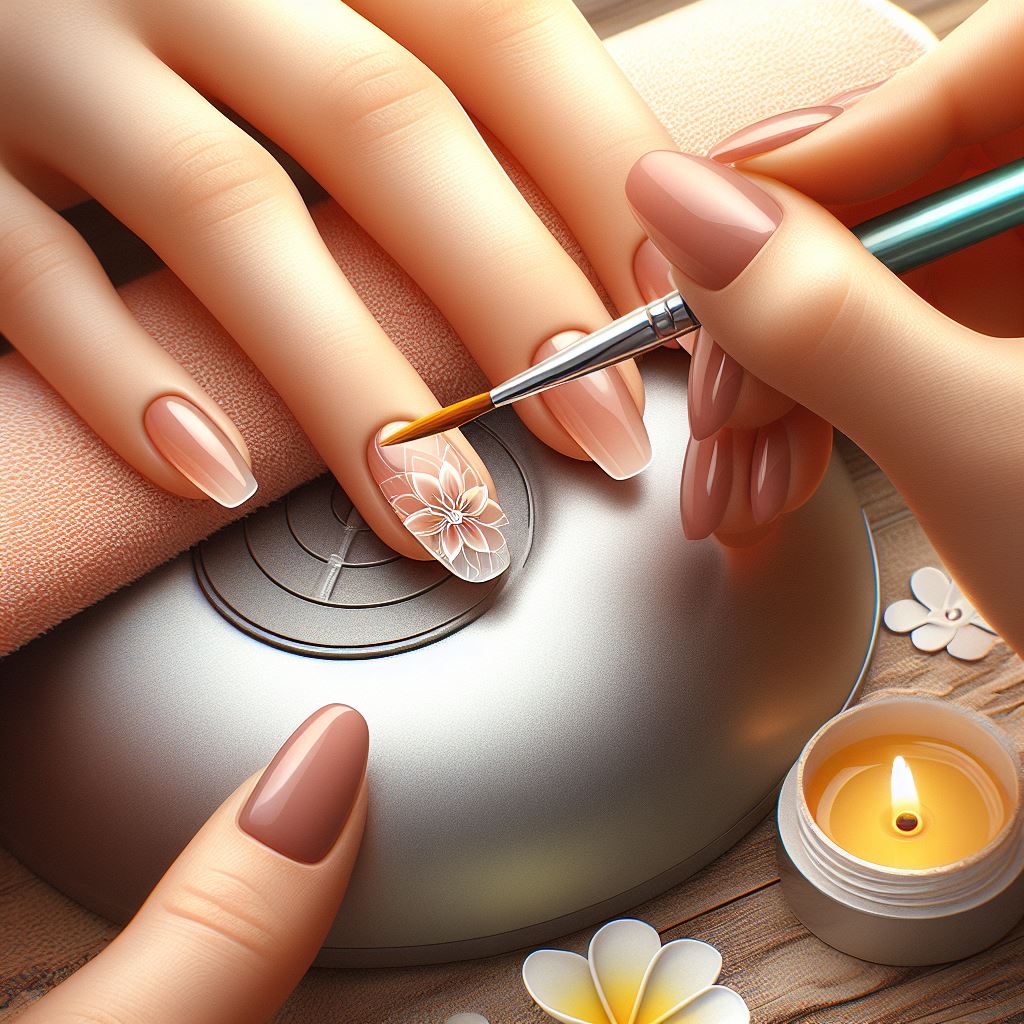
Building a stunning gel nail doesn't require an arsenal of products—just a few key essentials will do the trick. For a natural and versatile look that complements the wearer's complexion, concealer pink or peach gel impeccably mimics the natural nail bed, while the base gel guarantees a sturdy anchor for subsequent layers. When applying the base, employ a flat brush and 'weave' the gel into the nail's surface, ensuring thorough contact and adhesion. The application is more an art than a procedure; use baby circles and feather-light touches to finesse the gel onto the nail, preserving the sticky layers between applications to foster a strong bond between each layer of gel. Curing under the light is of paramount importance—this isn't just about drying the gel but ensuring it sets correctly to create the strength and longevity for which gel nails are renowned. Under-cure, and you risk a weak foundation; over-cure, and you might find the color and shine fall short of perfection. Striking the delicate balance here is what differentiates amateur attempts from salon-quality outcomes. Embrace the finesse and patience this stage requires, and you'll be well on your way to mastering gel nail application.
Fine-Tuning with Electric Filing and Shape Perfection
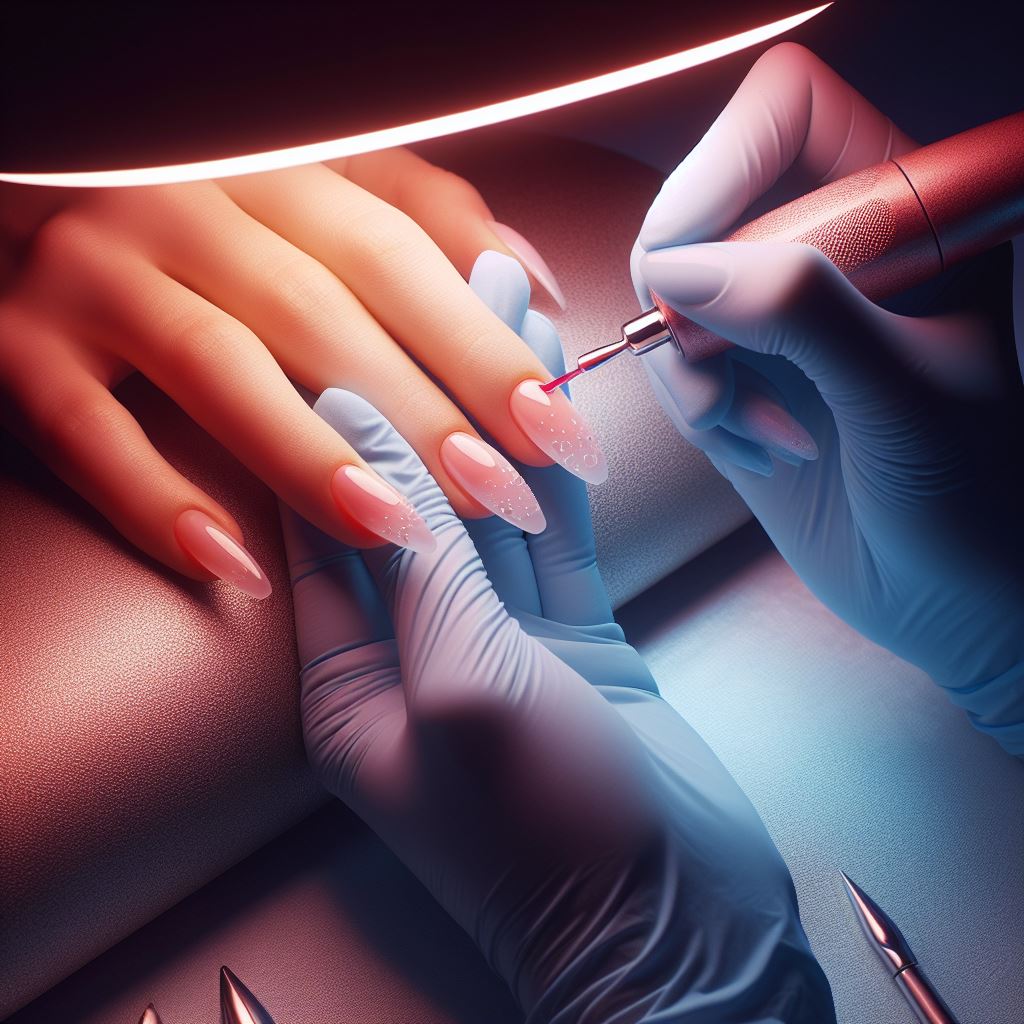
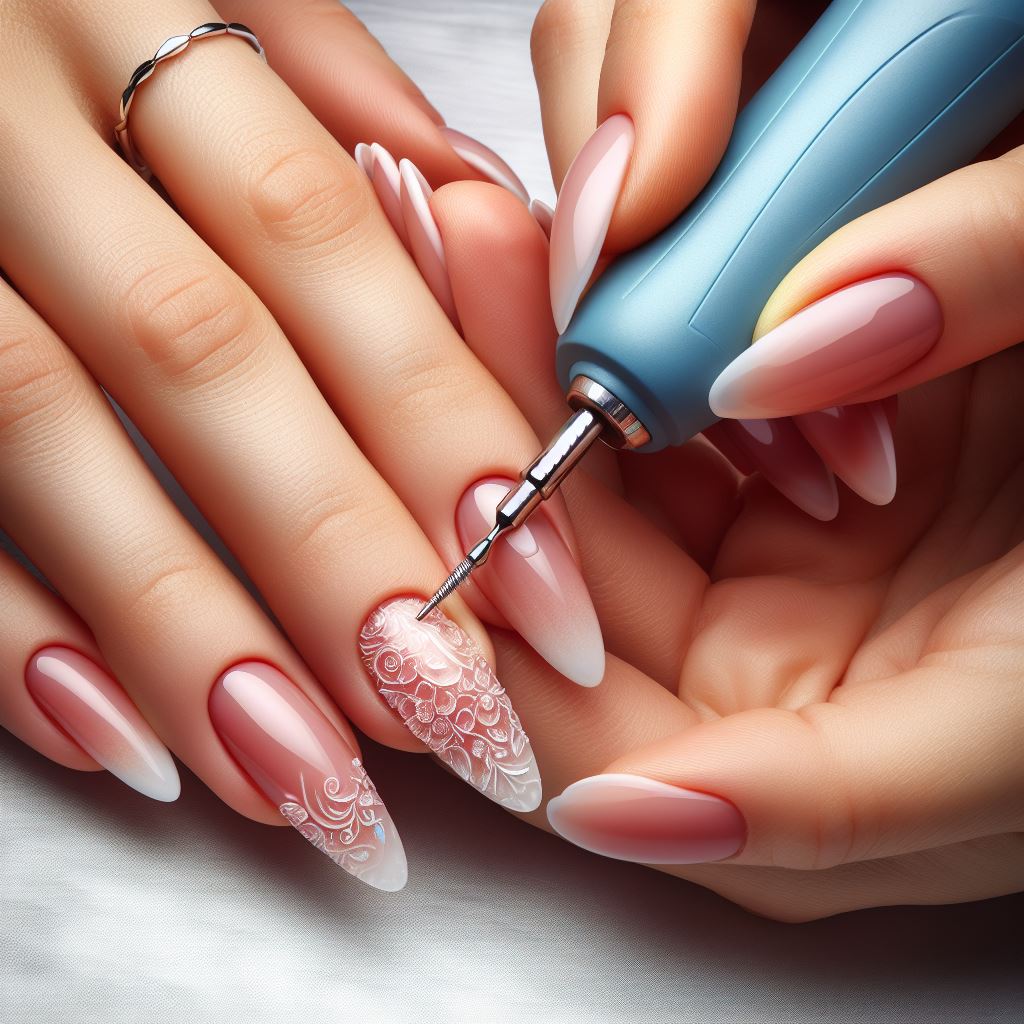
In gel nail artistry, your electric file is your trusted companion for achieving a perfect finish. Unlike the more vigorous filing required for acrylics, electric filing in gel application dances on the surface with minimal pressure. The goal is to shape, not shave, honing in on achieving the structure and contour of the nails without compromising the integrity of the gel. Pay careful attention to the angles and motions of your file—treat this process as sculpting rather than sawing. Once you've refined the shape, transition to hand filing with a 150 grit file to smooth any imperfections and ensure the free edge is thin yet durable, contributing to the nail's strength and appearance. Precision at this stage guarantees that your gel nails not only look impeccable but are set for an extended lifespan.
Achieving Symmetry and Uniformity in Gel Nail Shaping
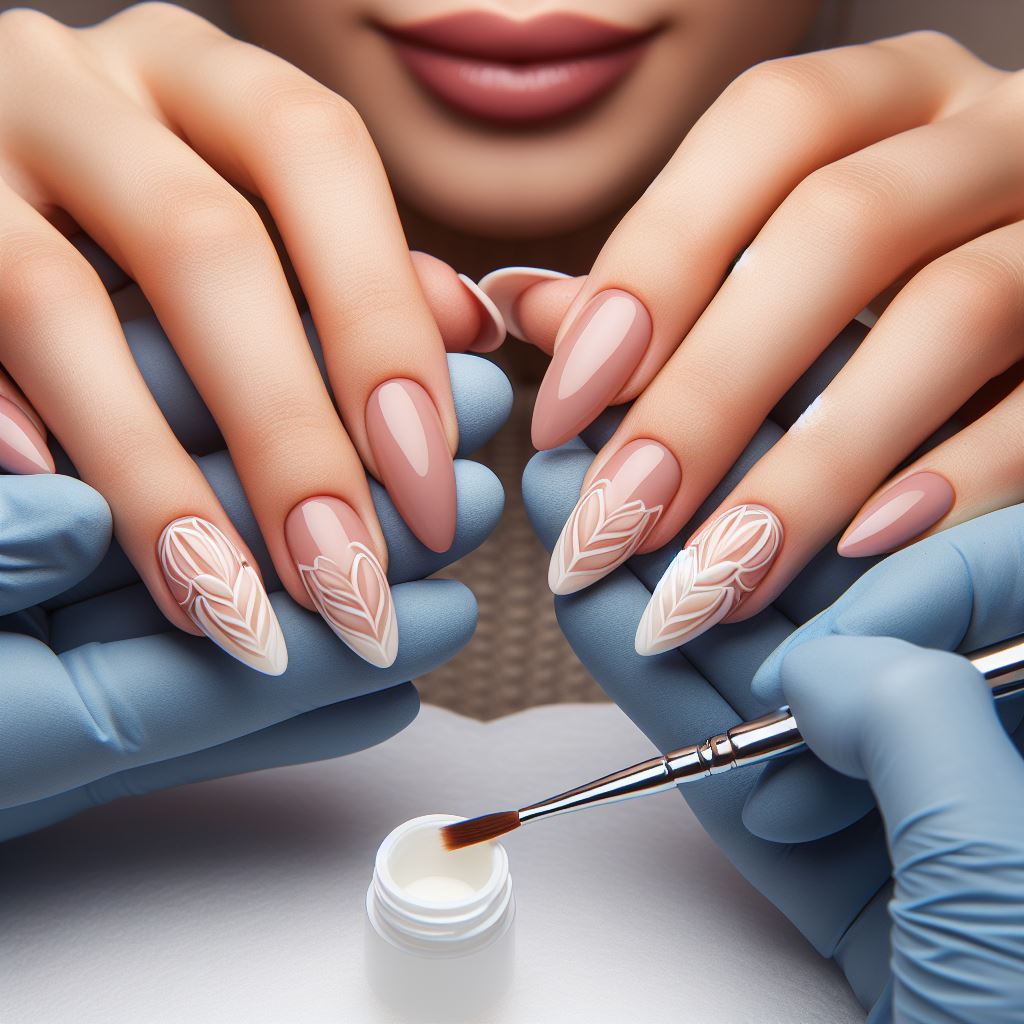
The allure of professional gel nails lies significantly in their symmetry and uniformity. Perfectly sculpting one nail is a feat, but replicating that perfection across all ten fingers is where true skill shines. Shaping nails requires an eye for balance and proportion, and it's paramount to view them from various perspectives, not least the client's viewpoint. Understanding the natural positioning of the hands is crucial—avoiding over-filing and ensuring that the nails' appearance remains straight and consistent when the hands are relaxed. When you take the time to compare both hands, adjusting your work to achieve harmonious uniformity, you'll deliver a result that speaks of nothing less than professional excellence.
Selecting the Right Top Coat for a Flawless Gel Nail Finish
The moment of truth in gel nail application comes with the selection and application of the top coat. This is not just about adding gloss and shine—it's about sealing your careful work beneath a protective layer that resists staining and enhances strength. A top coat like 'gloss', with self-leveling properties, adds that luxurious final touch capable of transforming a good gel nail job into a great one. It’s vital to choose a top coat that allies with the rest of your work, one that complements the application techniques you've deployed and the structure you've so carefully crafted. With the proper top coat, you’ll not only safeguard the nails but also ensure an enchanting, professional-grade finish that can withstand the rigors of daily life.

The Role of Post-Care in Gel Nail Maintenance and Client Satisfaction
To ensure that your gel nails maintain their splendor, post-care is not just a recommendation—it's a necessity. As the final step in your gel nail odyssey, the application of rose oil to the cuticles is a touch of luxury that goes a long way, hydrating the cuticle and the skin surrounding the nail bed. This not only assists in preventing hangnails but also contributes to the overall health and aesthetic of the nails. In a client-practitioner relationship, suggesting the purchase of rose oil as part of a maintenance regiment is more than upselling a product; it's imparting professional advice that will keep those gel nails in pristine condition between appointments, bolster your reputation for care, and enhance client satisfaction. After all, the true measure of your gel nail mastery is in how long your clients can revel in the beauty of your work.
