
Have you ever admired the flawless finish and creative designs on acrylic nails and wondered if you could achieve the same look at home? Whether you're aiming for an elegant French tip, a playful burst of glitter, or an intricate hand-painted design, acrylic nails are a canvas for expression. Starting a journey into the world of acrylic nail art can be as exciting as it is daunting, but with the right guidance, it becomes a rewarding creative outlet. In this comprehensive tutorial, I'm going to take you through each step of the acrylic nail application and design process, providing you with the foundation you need to embark on your nail artistry adventure. So grab your nail kit, get comfortable, and let's dive into the artful world of acrylics!
Introduction to Acrylic Nails: Prepping Your Nails
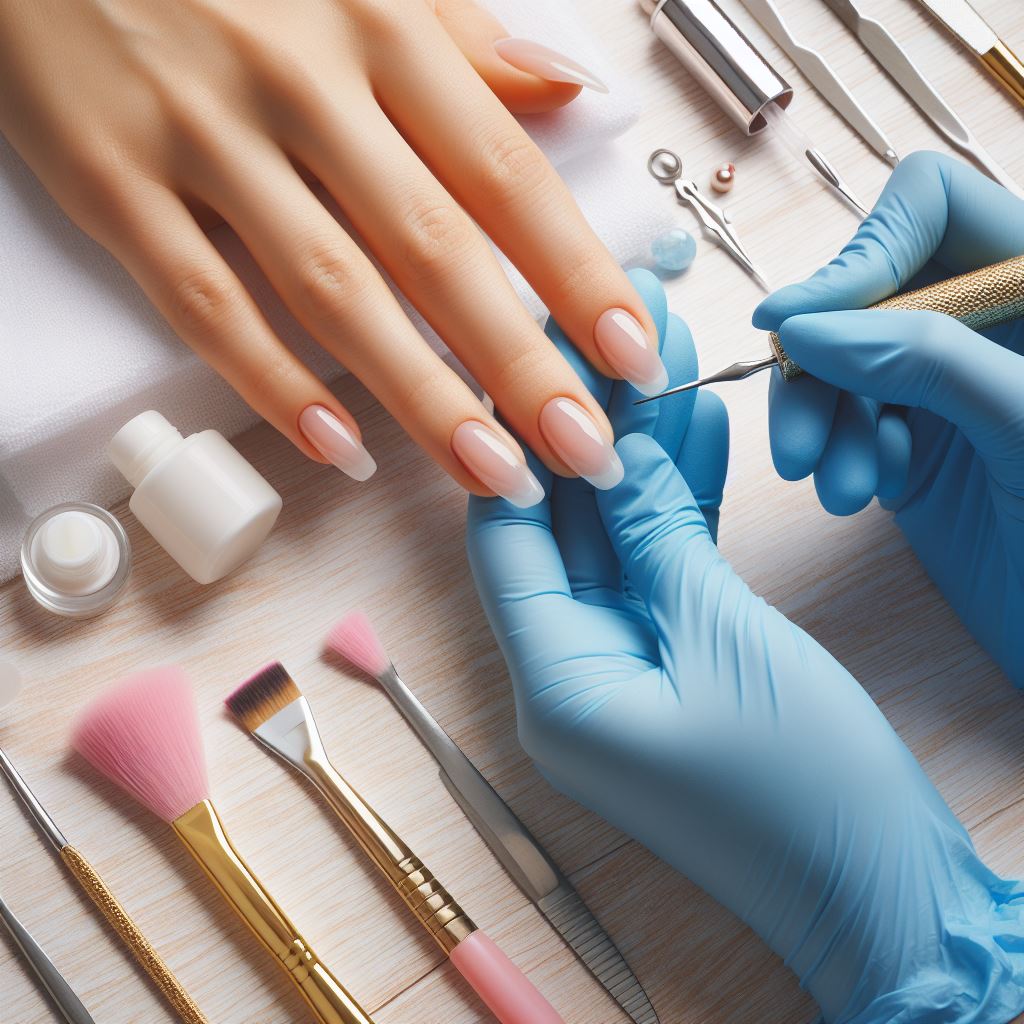
Before the magic begins, nail preparation is key. Proper preparation prevents lifting and ensures the longevity of your acrylic nails. It's about creating a perfect canvas for your artwork. Let's begin with the basics: push back your cuticles gently. This enlarges the nail surface and allows for a cleaner acrylic application. Next, use a cuticle cleaner to lift and remove any dead skin; you want to make sure no residue is lurking around for a clean adhesion of acrylic to nail.
Diving a little deeper, nail etching creates tiny grooves that help your acrylic grip onto the nail surface — think of it as adding a little texture for better adhesion. This can be achieved with a fine nail drill bit or a hand file, depending on your comfort level. And don't forget to size up the nail tips properly! Each tip should fit from sidewall to sidewall without pressing too hard, as this might cause breakage. Pre-etch the tips on the inside where they'll contact your natural nails for added grip.
Mastering the Art of Acrylic Application and Nail Art Design
Now, let’s talk about the brilliance of acrylic application. It will be a test of patience, but have faith in the process. First, you apply a thin coat of primer over your nails to get rid of any oil content and ensure that the acrylic lasts. Using your brush that has been dipped into the acrylic liquid, take up a bead of powdered acrylic and place it onto the nail. Pull the bead gently off from the nail bed to the free edge, in strips evenly.
As you become more confident, add layers of colored acrylic and various dimensionality. These layers can be imbued with glitters, small decals, or simply anything that your heart fancies. Remember, encapsulation is crucial for a smooth finish; it preserves your art and provides depth. Finally, apply thin clear acrylic layers over your art, not only sealing everything inside but also giving you a thicker surface for filing and shaping without disturbing the design.
If you want to dress up a little, there are colors and some sparkles waiting for your touch. Use beads of colorful acrylic to form flowers, lines, or intricate designs. Practicing a lot, you will be creating nail art that can compete with professional manicurists.

The Finishing Touch: Filing, Buffing, and Top Coating Your Acrylic Nails
Creating the perfect acrylic nail is like sculpting: you add material, then you refine it. Once the acrylic has set, it's time to shape up. Begin filing the sidewalls to ensure they're straight and even. Your grip on the file is important — stabilize your hand for better control. Blend the tip with the nail using a gentle buffing motion to create a uniform surface. Pay attention to the nail apex (the highest point of the nail), making sure it has the right curvature, as this gives the nail strength.
Consider using an e-file if you're comfortable with it, as it can significantly speed up the filing process. However, always start on a low setting to avoid damaging the nail or creating too much heat. Once you've achieved the desired shape, switch to a finer buffer to smooth the nail surface, so it's ready for the grand finale — a glossy (or matte) gel top coat. Apply an even layer and cure under a UV or LED lamp, following the manufacturer's instructions. The result? A high-shine, durable finish that can withstand the rigors of daily life.

Advanced Tips & Techniques: Perfecting Your Acrylic Nail Art
As you advance in your acrylic journey, explore the nuanced techniques of ombre effects, marbling, and 3D nail art. Delicate ombre requires blending two or more acrylic powders on the nail to create a gradient. Marbling, on the other hand, involves swirling different colors together before they set for a natural, freeform pattern. If you thirst for texture, 3D nail art raises the bar with acrylic shapes that stand out from the nail for a dramatic effect.
For salon-quality precision, invest in a variety of brush sizes and shapes. A smaller brush offers more control for detailed work, while a larger brush can cover more space for blending and base layers. Another tip is to maintain your equipment's cleanliness. A clean brush and properly closed powders prevent contamination and ensure a flawless outcome every time.
As for the color palette, pastels might be a gateway, but don't shy away from bold and vibrant shades. You'd be surprised how a pop of color can elevate the overall aesthetic of your nail designs. And sometimes, less is more — a solitary crystal or a minimalist stripe can be as impactful as an elaborate scene painted across five nails.

Continued Learning: Embracing the Journey of Nail Design Mastery
Immerse yourself in the constant evolution of nail art by continually educating yourself. Attend workshops, watch tutorials from leading nail artists, and don't be afraid to experiment. Every mistake is a lesson and every success, a stepping stone to more complex designs.
Stay patient and remember, practice makes perfect. Acrylic nail art is not only about creating stunning visual effects; it's about expressing your creativity and building a skill that can be honed over time. Whether you're practicing on yourself or others, each set of nails is a blank canvas waiting for your mark. Try different techniques, follow nail art trends, but most importantly, enjoy the process!

So, my budding nail artists, keep your spirits high and your acrylic powder dry. As you navigate the rewarding path of nail design, be kind to yourself and know that with each polished and perfected set of nails, you're not just fashioning beauty — you're mastering an art form. Set your sights on growth, and let your creativity lead the way. Happy painting!