
Hey there, nail enthusiasts and DIY aficionados! Have you ever looked at your hands and imagined them adorned with a gorgeous set of acrylic nails? Perhaps you've been thinking about the possibility of creating that perfect manicured look from the cozy surroundings of your own home. Whether you're economy-savvy, creatively inclined, or you simply relish the challenge of learning a new beauty skill, this comprehensive guide will walk you through the intricate yet rewarding journey of doing your own acrylic nails. With our friendly step-by-step instructions, you'll learn everything from the essentials of application to the creative nirvana of nail designs. Get comfy, grab your nail kit, and let's dive into the world of home acrylic nail application that’s sure to give your digits a dose of dazzle!
Introduction to DIY Acrylic Nails and Getting Started
Let’s start with the basics, shall we? Acrylic nails have long been a mainstay in the beauty industry, offering durability, length, and a canvas for stunning nail art. Traditionally, achieving this look meant a trip to the nail salon, but today, many nail aficionados are opting to take matters into their own hands—quite literally. Before diving in, it's critical to understand that precision and patience are your best friends in this endeavor. Prepping your natural nails and your workspace is as crucial as the application itself. Make sure to pick a well-ventilated area for your nail transformation session to avoid inhaling any fumes from the chemicals you’ll be using. Also, lay down some paper towels to protect surfaces and have a small dish of water handy for emergencies (like spills or adhesive mishaps). Now, onto the thrilling part—transforming your nails into miniature masterpieces!
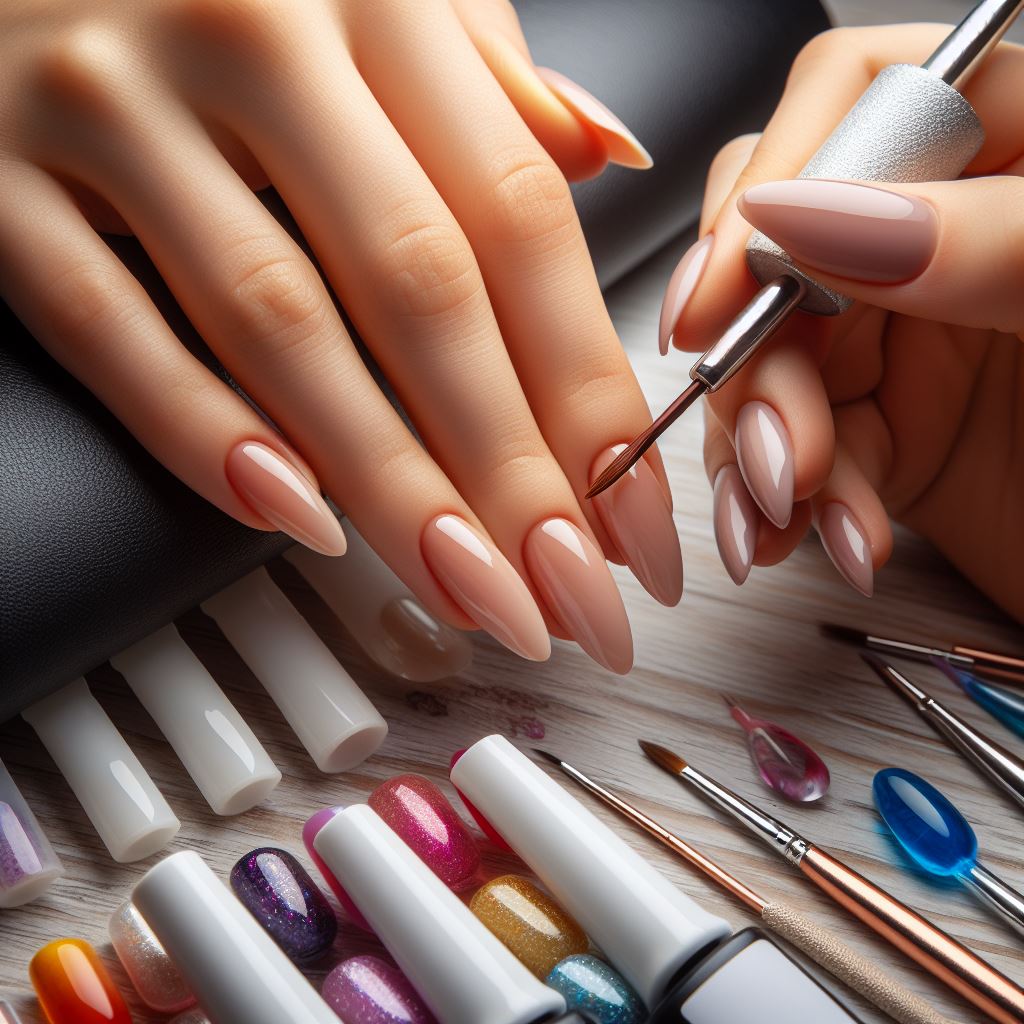
Mastering the Basics: Applying Acrylics and Nail Tips
Start by cleaning and prepping your nails; this is non-negotiable for the best adhesion and results. Push back your cuticles, file the natural nail’s surface for better grip, and cleanse with an alcohol wipe for a pristine base. The next step is sizing and applying your nail tips—these will be the foundation for your acrylics. Use nail glue to secure the tips and ensure they are completely bonded to your natural nails. Remember to hold them in place for a few seconds to ensure a solid bond. Once your nail tips are set, it’s time for the magical concoction of liquid monomer and acrylic powder. Wetting your brush with the monomer, then dipping it into the powder will create a small bead of acrylic. Apply this to the base of your nails and gently pat into place, tapering out towards the tips. Smoothness is key here, and with practice, you’ll find the rhythm that works best for you.

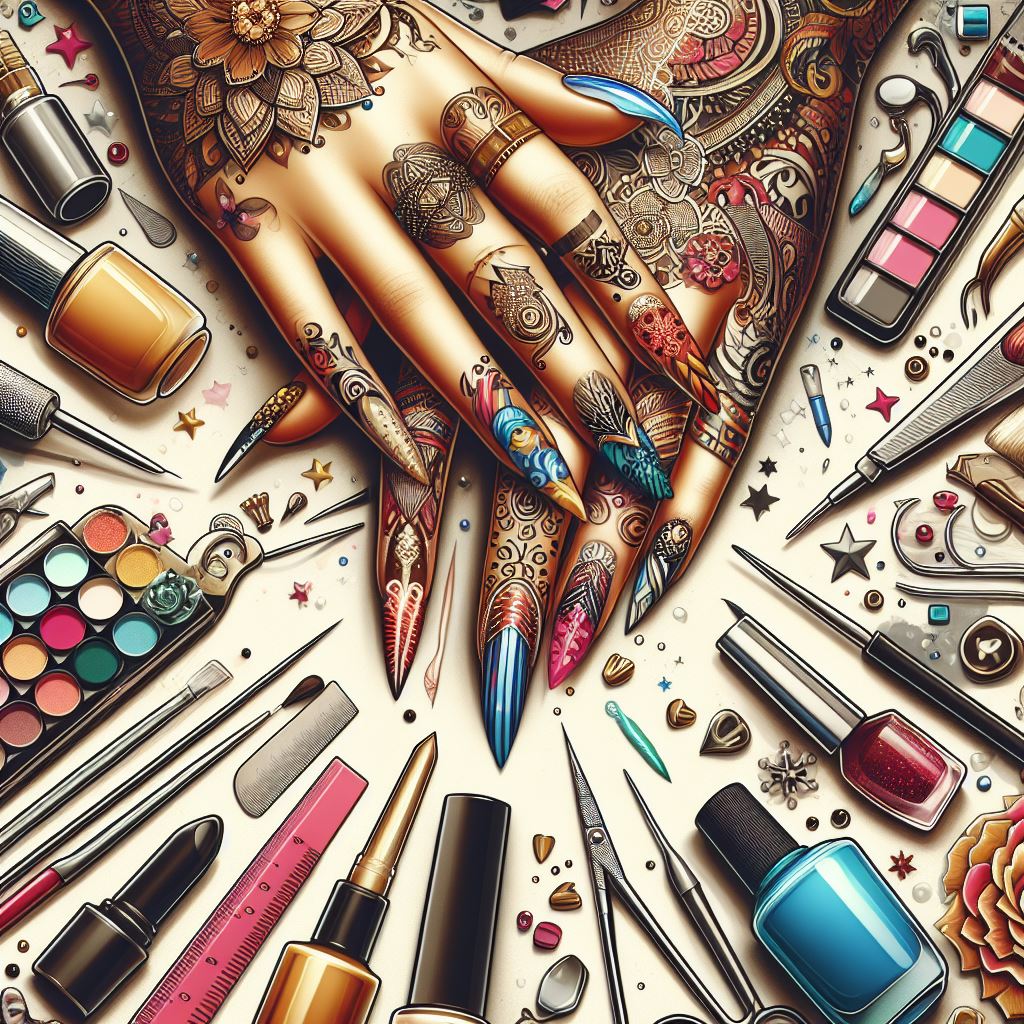
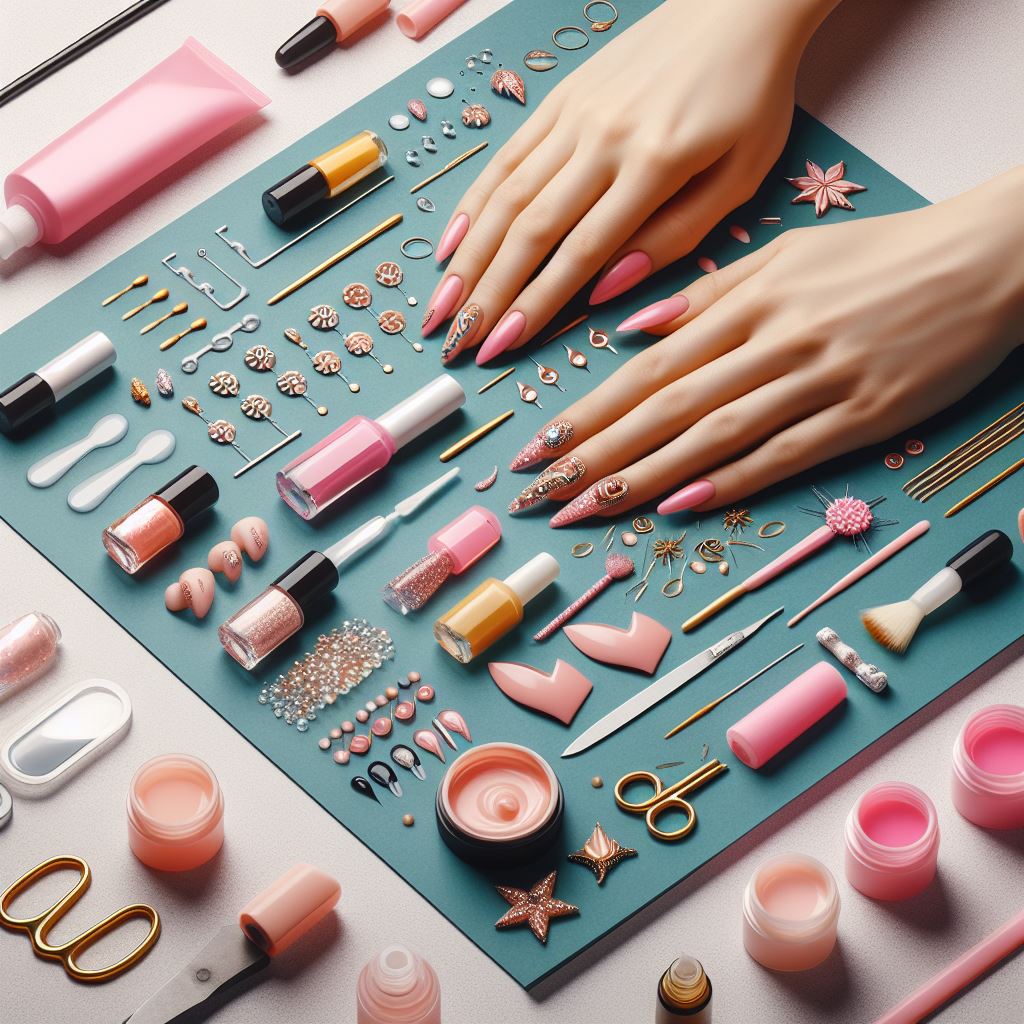
Nail Design and Decoration: Unleashing Your Creativity
Once the acrylic has set, shape your nails to your desired length and style. This is where your creative vision comes to life! Our next foray is into nail design and embellishments. Whether you’re envisaging elegant French tips or playful designs like pink hearts, your artistic flair can now take the stage. Arm yourself with a variety of nail art brushes, dotting tools, and perhaps even some rhinestones to elevate your design. Don’t hesitate to turn to platforms like Pinterest for a stream of nail design inspiration when your muse is playing hard to get. Sky’s the limit—abstract patterns, seasonal themes, glitter infusion, you name it! As you decorate, remember to apply each layer thinly to avoid a clunky finish, and always wait for a layer to dry before adding another atop.
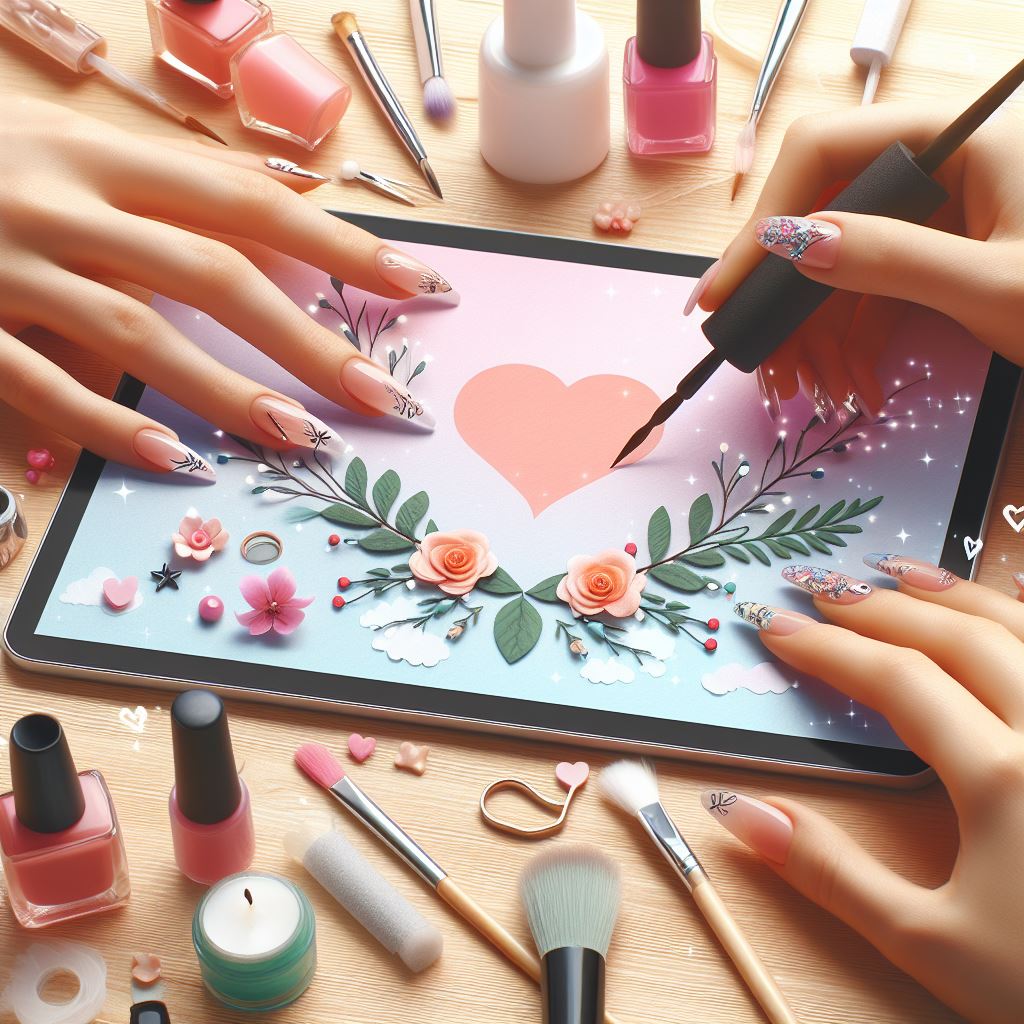
Gel Polish Perfection: Applying Color and Details
The advent of gel polishes has been nothing short of a revolution in nail artistry. Thankfully, achieving professional-looking color and details isn’t confined to the salon. To begin, apply a thin layer of base coat that aids in gel polish adhesion and provides a smooth canvas for the color. Cure under a UV or LED lamp as per the instructions. Next, sweep on your chosen gel polish in light, even strokes. For sheer polishes, multiple coats may be necessary. Cure between each layer. If French white tips are your goal, use a striping brush to create that crisp line. For something a touch more whimsical, like pink hearts, use a fine dotting tool or toothpick to plot your points and connect them with brush strokes. Each gel layer will require curing, so patience is, again, absolutely vital. Once your masterpiece is complete, a top coat seals in the color, adds shine, and locks the design in place for extended durability.
Finishing Touches: Curing, Sealing, and Nail Care Tips
As you near the completion of your DIY acrylic nail journey, ensure all of your hard work is secured with proper curing and sealing. After you've applied and cured the final top coat, you're almost at the finish line! But, as in all great works of art, aftercare is crucial. Employ cuticle oil daily to maintain moisture around your nails, preventing lifting and encouraging healthy nail growth. Steer clear from harsh chemicals without protective gloves and treat your hands with kindness. Your nails are jewels, not tools—abiding by this mantra extends the life of your acrylics exponentially.
Engaging with Your Audience: Feedback and Community Building
Now you've got a fabulous new set of nails that you've created all by yourself! Why keep the excitement to yourself? Dive into the fun world of nail art communities online. Snap a photo, share it on social media, and use hashtags to attract fellow nail art lovers. Don't be shy about asking for constructive feedback or offering insights to beginners asking for advice. Every comment, like, and share not only builds your confidence but helps nurture a supportive environment where creativity thrives. You may have started this journey solo, but you'll soon find that the world of DIY acrylic nails is vibrant, inspiring, and incredibly welcoming. So go forth, showcase your work, and connect with others who share your passion for home nail care and artistry.
Whether you're prepping for a night out or just want to add a little bit of luxury to your daily routine, mastering the art of DIY acrylic nails is a rewarding skill that pays off with every compliment received and every glance at your beautiful hands. Remember, like any good craft, it takes practice. So be patient, be bold, and, most importantly, have fun with it!
Now, gorgeous nails are just a brushstroke away. Keep honing your technique, experiment with new designs, and always take pride in the work you've done—because nothing beats the satisfaction of a stunning set of nails that you've crafted with your own hands. Happy polishing!