
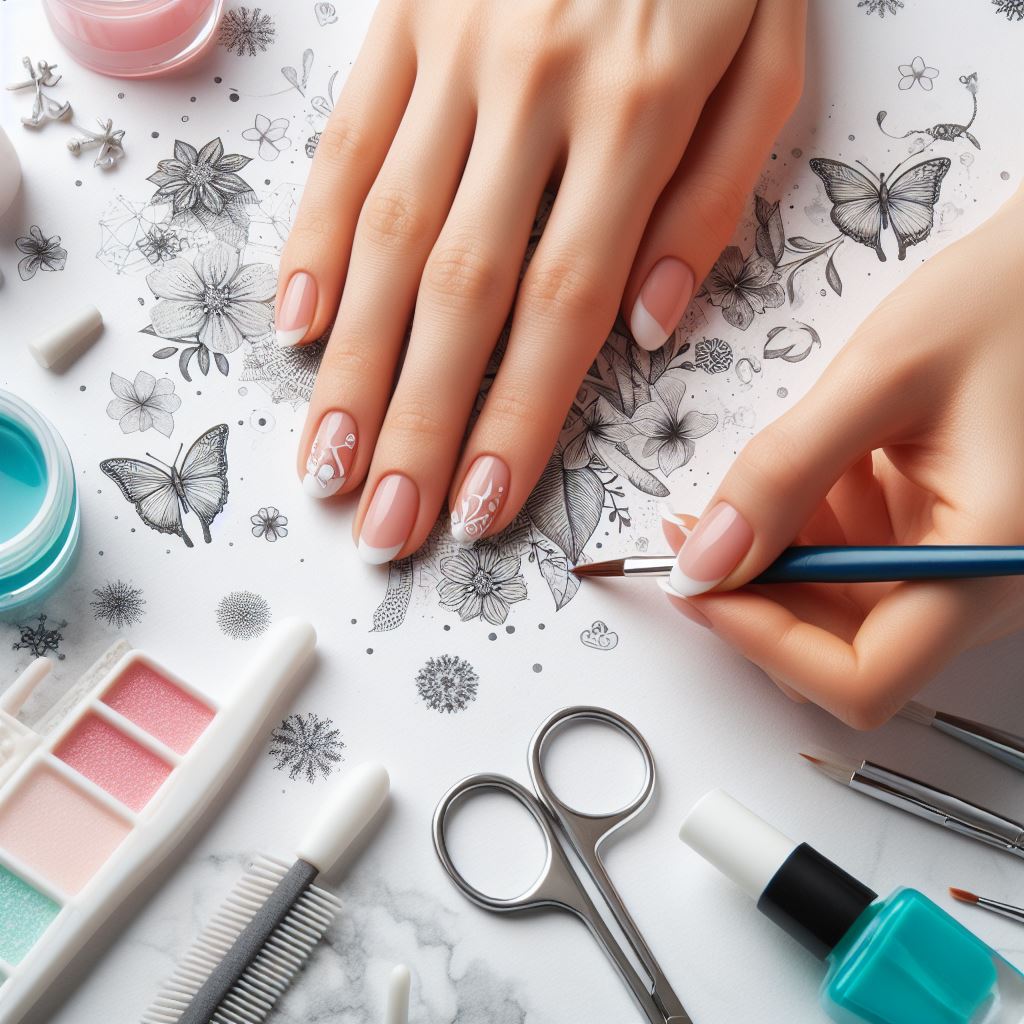
There's something so satisfying about a sleek, beautifully painted set of nails. The flawless finish, the vibrant color, and the feeling of having pampered yourself right at home. But achieving that salon-quality manicure by yourself? It can seem daunting. Thankfully though, it's entirely possible to become your own manicurist with the right knowledge, tools, and a splash of patience. This guide will walk you through all the steps to nailing that perfect DIY manicure every time—from caring for your nails with love, mastering the painting process, to the final glossy top coat that seals the deal. Whether you're a novice or a polished pro, you're about to embark on a journey to impeccably manicured hands. Let’s dive in and elevate your nail game to the next level.
Preparing Your Nails for Paint: Cleaning and Cuticle Care
We all know that great art begins with a clean canvas, and the same applies to nail art! So let’s start by erasing any leftover evidence of previous nail escapades. Using an acetone-free remover is a gentler option for cleansing your nails without stripping away natural oils excessively. It's crucial to ensure your nails are squeaky clean and devoid of any old polish before you begin the beautification process.
Once you have a clean slate, it's time for some tender loving care for your cuticles, those delicate guardians of your nail beds. Cuticle oil is your friend here—apply it liberally to moisturize and soften. Next, take an orangewood stick and gently push those cuticles back. Resist the urge to cut them, as this can lead to weakened nails and even infection over time. You want to avoid that; we're here to spruce up, not mess up.
Now, about shaping those nails to perfection: filing needs to be a careful, one-way affair. A high or low grit nail file might be suitable depending on your nail strength; for fragile nails, go with a fine-grit file. The goal is to shape your nails in a direction that aligns with their growth, eliminating the risk of splitting. Don't saw back and forth—be gentle and deliberate.
Before you head to the next step, give your hands a good wash. Then dab a little alcohol on a cotton ball and swipe across each nail. This will remove any remaining oils and residue, ensuring a clean surface for maximum polish adhesion. Yes, you're inching closer to the painting stage, but prep work is key in the DIY manicure realm. A little patience goes a long way.
The Art of Nail Painting: Base Coats, Colors, and Techniques
So, you're ready to color your world—or at least your nails—but hold your horses. First up is the base coat, that unsung hero of the manicure process. Why the base coat, you ask? This clear first layer is crucial as it acts as a primer, enhancing polish adhesion, preventing staining, and extending the life of your manicure. Apply a thin, smooth layer and allow it to dry. Resist any temptation to dive into the pigment pool just yet.
Now comes the fun part—the burst of color! When choosing your polish, consider the brush size, the consistency of the product, and, of course, the hue that delights your heart. Remember, even the pros apply thin coats, so follow suit. A thinner application means quicker drying times and less likely for smudging. Paint with care, covering the nail from base to tip while avoiding the cuticle area. Flooded cuticles can lead to polish lifting and chipping; no one wants that. So, freehand with finesse, or use a cuticle guard to keep things neat.
Patience remains a virtue as we wait for the color coat to dry. It's tempting to read a novel or play the piano to pass the time, but stillness is your ally here. Two thin coats should suffice to achieve an opaque, even layer, and remember to allow for drying time after each application. Edge the tips of your nails too; 'wrapping' the color over the edge can reduce the chances of premature chipping.
Finishing Strong: Top Coats and Preservation Tips for a Flawless Manicure
You're almost at the finish line, and it's time to protect your masterpiece. A good quality top coat will give you that coveted shine, yes, but it also seals in color and adds a layer of protection. Much like the base coat, apply a single, even layer over the entire nail, including the edges. Some top coats are marketed as quick-dry, and while they can save time, ensure they don’t trade off on protective quality.

And now, for the moment of truth: the drying time. Air bubbles and smudges are the arch-nemeses of the DIY nail artist. The secret here is to be still—no hand-waving, no blow drying. These methods can bring grief in the form of bubbles or ripples. Instead, find an activity that requires minimal hand movements or simply relax and admire your work.
But wait, we're in this for the long haul, right? Preservation is just as important as the painting. To extend the life of your manicure, reapply a top coat every few days to ward off chips and dullness. And when tackling life's tasks—washing dishes, gardening, wrestling with jar lids—don gloves. The extra layer can do wonders for preserving your nail polish. Moisturizing your hands and cuticles daily should become your new mantra as well; hydrated nails are happy nails.

That's it, you've done it—a salon-worthy manicure right at your fingertips. With these tips and tricks, you're all set to flaunt your fabulous new look. But more importantly, you've taken time for yourself, nurturing your creative side while caring for your nails. So go on, show off those stunning hands with pride and get ready for the river of compliments that's sure to flow your way. Remember, every DIY manicure is a celebration of self-love, and now, with this guide, you're equipped to do it with flair and finesse.