
Hello fabulous mommas! Have you ever been hiding those tired, hardworking hands of yours, tucking them away out of sight? Imagine instead, adding a burst of color, a touch of glamour, or a sprinkle of creativity right at your fingertips. Intriguing, right? Welcome to the wonderful world of nail art!
Just like an artist’s canvas, your nails too can be adorned with a myriad of colors, designs, and styles. Nail art isn't just about looking pretty or adding some extra bling to your outfit; it's much more than that. It's an act of self-love, a way to express your vibrant personality, and a creative outlet that can boost your mood and confidence.
In this article, we’ll delve into the exciting realm of nail art, specifically tailored for you, the powerhouses of our lives – mothers. From the importance of nail art as a part of self-care and its role in creative expression, to some stunning nail art design ideas and tips to care for your nails post nail art - we've got you covered.
Get ready to breathe life into your nails and bring out the inner fashionista in you. Let’s add some color to your world!
Why Nail Art
They often say we, mothers, forget to prioritize our own well-being, because we’re so preoccupied in taking care of others. And I have to admit, there were many instances when I've found myself in that position. I used to feel guilty about spending even a bit of time or money on myself. But over time, I've learned the importance of self-care. I've come to understand that it's not selfish – it's essential.
Importance of Self-Care for Moms
As moms, when we put our own well-being on the back burner, it can eventually lead to exhaustion or even burnout. The ripple effects of this can impact not just us, but our families as well. When we take time for self-care, it's not just about pampering ourselves. It's about investing in our overall happiness and well-being, so we can show up as the best version of ourselves for our loved ones. Think of it like this:
- It promotes physical health: When we prioritize our wellness, we ensure that we are strong enough to care for those who rely on us.
- Psychological well-being: It's also about maintaining mental and emotional health. When we're under constant stress and neglecting our needs, it can lead to mental health issues like depression or anxiety. Taking time out for self-care, in contrast, can help lower stress and enhance our mood.
- Improves productivity: When we are physically and emotionally healthy, we tend to be more productive and efficient, leading to a better balance between our personal and professional life.
One of the ways through which I embrace self-care is by indulging in nail art. I know, you must be thinking, "Nail art? Really?" But hear me out.
Creative Expression through Nail Art
Nail art is more than just a cosmetic enhancement. For me, it's an expressive outlet. Every design I create is like a tiny piece of art, right at the tips of my fingers. The process of choosing colors, patterns, and even the act of applying the polish can be therapeutic. Here are a few reasons why you might want to consider it too:
- Embrace your artistic side: Even if you think you're not artsy, you'll be surprised at the creativity that can come out when you start playing with colors and designs!
- Boosts confidence: When your nails look good, it can give your confidence a little bump. Just like wearing a great outfit or having a good hair day.
- Stress reliever: Focusing on something detail-oriented, like nail art, can be a wonderful stress-buster. It can help you tune out the world and its worries for a while, providing the mental break you probably need.
So moms, it isn't indulgent or frivolous to invest a bit of time in yourself every so often. Whether it's through nail art or other forms of self-care, remember - you can't pour from an empty cup! Remember to fill yourself up first, so you can give your best to your family! So, why not try some nail art today? It might be the creative outlet you didn't know you needed.
Basics of Nail Art
Nail art isn't just about fashion anymore. It's a form of self-expression, a way to unleash your creativity, and even decompress after a long day. Whether you're a seasoned pro or a beginner, it's important to get to grips with the basics. In this section, we'll dive into the everyday tools and materials, essential preparation, and how to lay down the perfect base layer for a flawless nail art masterpiece!
Tools and Materials
To start your nail art journey, you'll need some basic tools and materials. Don’t worry! These aren't hard to find. Here's a handy list I put together:
- Nail polish: A variety of shades and finishes ( tip: always include a clear top coat)
- Manicure tools: nail file, tweezers, orange stick
- Nail art utensils: dotting tools, thin brushes, and sponges
- Nail art accessories: glitter, rhinestones, stickers
No nail art kit would be complete without these items. Once you have your toolkit ready, it's time for some action!

Preparation and Nail Care
Before we apply any paint, it's important to prepare. Healthy nails are always the best canvas. Here are a few steps to ensure your nails are ready:
- Clean your nails: Use a mild soap to remove any oils and dirt.
- File and shape them: Round, square or the trendy almond...choose the shape that suits you best!
- Push back the cuticles: Gently does it. You don’t want to damage the nail bed.
- Apply a base coat: This will protect your nails from staining and help the polish adhere better.
Give your nails some TLC, and they'll be the perfect backdrop for your creative endeavors!
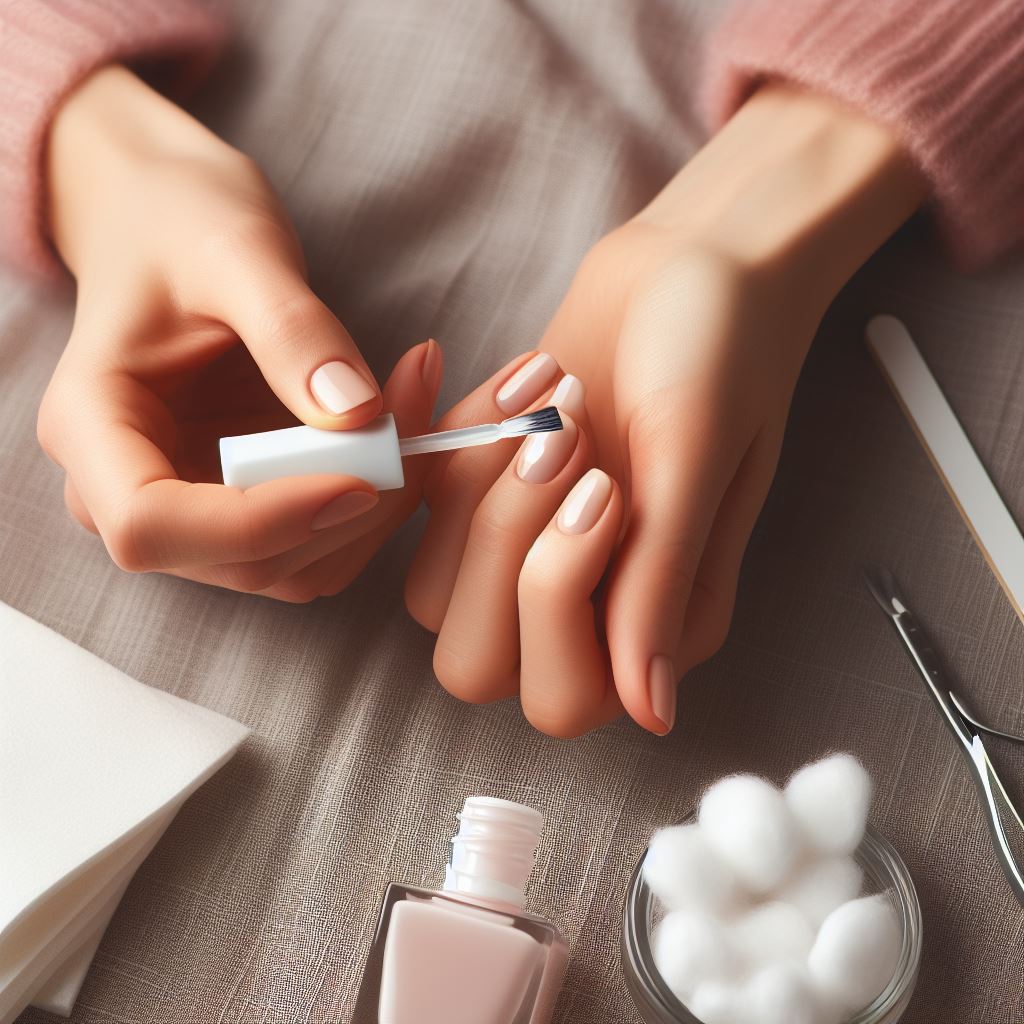
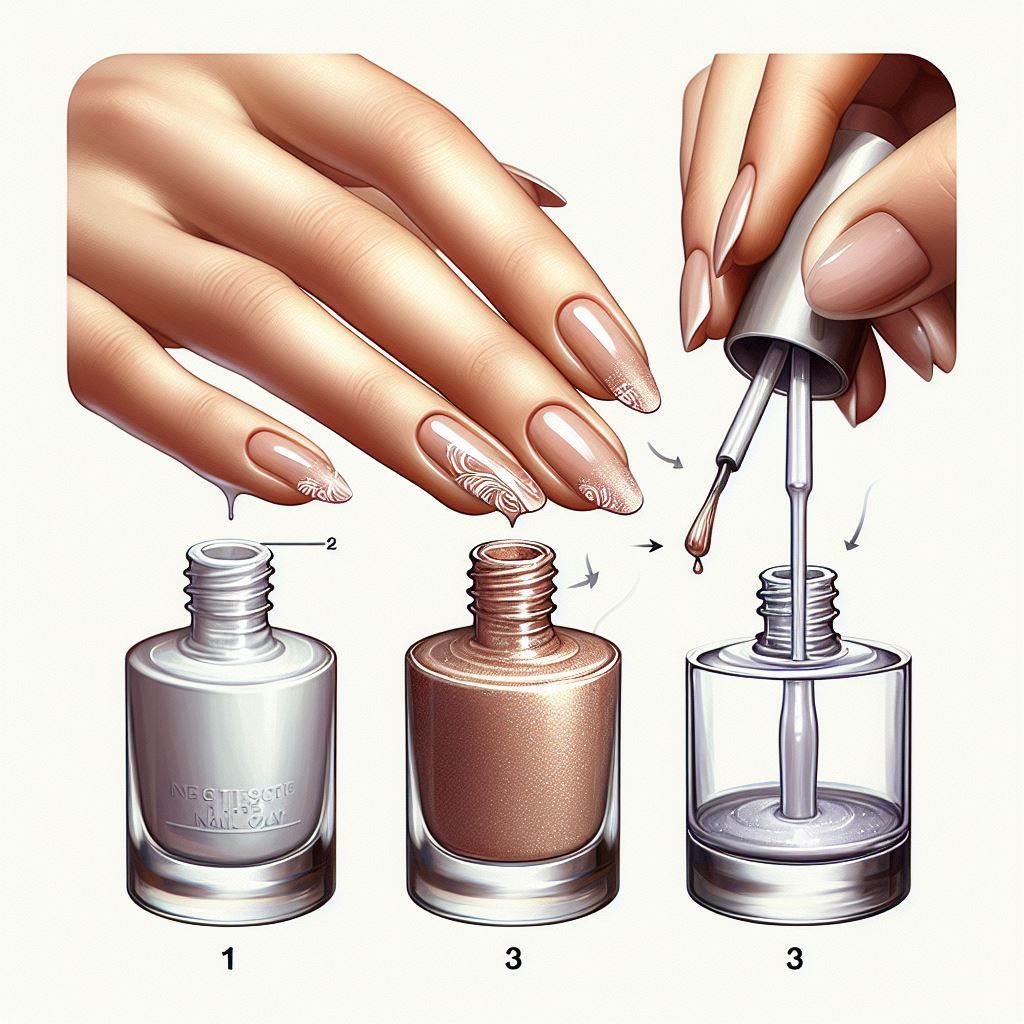
Creating a Base Layer
The basis of all spectacular nail art is a stunning base layer - it's like priming a wall before you paint it. And you know what? Creating it isn’t as hard as you’d think! Here's how:
- Apply a thin layer of your chosen color. Wait for it to dry completely.
- Repeat the process. Two thin coats result in an even, opaque look.
- Smooth any imperfections with a clear top coat, and signal the finish line of your base layer task.
Remember, patience is key. Don't rush, enjoy the process and wait for each layer to dry before applying the next.
Mastering the basics of nail art can be a really fun journey! It's much more than creating eye-catching visuals; it's about self-expression and relaxation! Go on, give it a try, and let your nails be your canvas.
Colorful Nail Art Designs
If you're like me, you believe that the perfect manicure is an essential. Nail art design is not just about painting your nails; it's about expressing your style and personality right down to your fingertips. But with so many colors, patterns, and techniques to choose from, where do you start? In this post, I'll guide you through some of my favorite colorful nail art designs. Whether you're a nail art newbie or a seasoned pro, these designs sure will brighten up your day. Let's get painting!
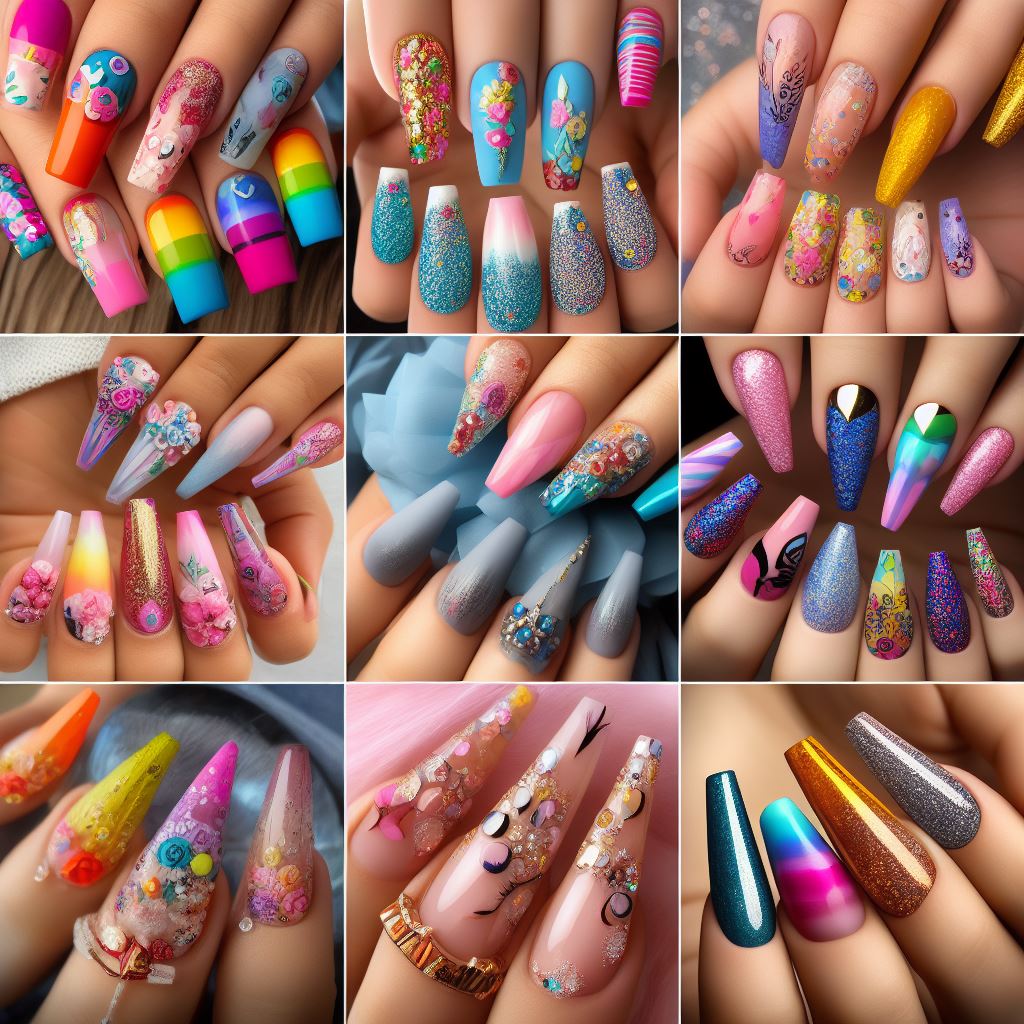
Bright and Bold
The 'bright and bold' look isn't for the faint of heart. It's all about making a statement with head-turning hues. Think Freddie Mercury in his iconic yellow jacket, or a delicious slice of ripe watermelon. Here's a quick checklist on what you'll need:
- Vibrant shades of red, orange, yellow or pink nail polish
- Nail art brushes for creating precise lines and patterns
- A steady hand and a breath of creativity. Anyone can pull off bright and bold, and the result is definitely worth the effort.
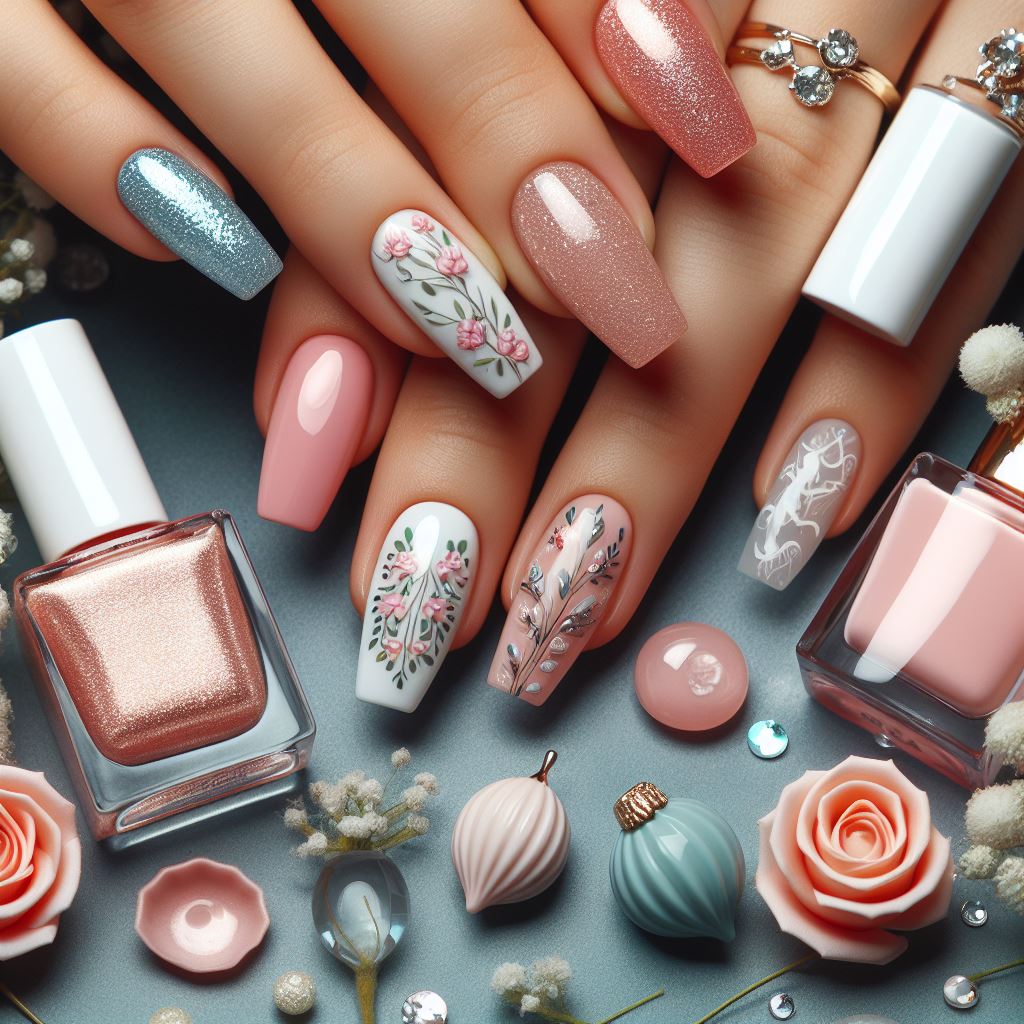
Pastel Paradise
Next, let's take a turn in the opposite direction - welcome to the 'pastel paradise'. Here, we dabble with soft hues like baby pink, powder blue, and mint green. The key to nailing this look is subtlety. These delicate shades may seem minimal, but they definitely pack a punch when painted well.
- Choose pastel nail polish shades that compliment your skin tone
- Keep your nails short and neat, as long nail might overpower the softness of the colors
- Include pattern play, like floral or polka dots to add an extra layer of cuteness
Glitter Glam
Looking for a little more sparkle in your life? Well, your nails are a perfect place to start. Glitter glam nail art designs can be as intricate or simple as you wish them to be. Glitter nail polishes are available in a rainbow of colors, and they add dazzle to any design.
- Always apply a base coat before painting on glitter, as it can be tough to remove
- Feel free to mix and match with matte or glossy shades for added depth
Rich and Royal
Rich and royal tones, such as deep blue, crimson, and emerald green, are perfect for those seeking elegance with an edge. These regal shades ooze sophistication and they're universally flattering.
- Coat your nails with a clear, glossy topcoat to further deepen the colors and increase longevity
- Geometric patterns pair well with these regal shades, creating a luxe look
Neon Fizz
Last, but never the least, is the 'neon fizz'. Just like neon signs liven up a dark street, neon nail art can perk up your look instantly. Neon nails are the ultimate show-stoppers. Be fearless, be eye-catching, and most importantly, be you.
- Use white nail polish as a base to make the neon colors pop
- Mix and match different neon colors on each nail for a youthful and fun look.
There you have it, folks – my top colorful nail art designs that are sure to turn heads, regardless of your style or expertise. Remember to enjoy the process, and don't worry about making it look perfect. It's all about expressing yourself and having fun. Happy painting!
Nail Art for Different Occasions
Whether you're a seasoned nail artist or a manicure newbie, it's undeniable: nail art is a fun and creative way to express your style. When it comes to different occasions, your nail art can serve as the finishing touch to your outfit, or even as a conversation starter! In this article, we'll provide suggestions for fitting nail art designs for various occasions, from everyday wear to mom's night out.
Everyday Wear
When it comes to the daily grind, you need a nail design that's as versatile as your wardrobe. Let's talk neutrals!
- Sand-beige and café latte shades can add a hint of sophistication to your overall look.
- Soft pinks and nudes go great with virtually any outfit.
- If you want a subtle design element, try a light touch of nail art such as minimalist lines or dots.
In essence, for everyday wear, choose designs that are easy to maintain and hues that complement your go-to outfits.
Special Occasions
Special occasions like birthdays or anniversaries ask for a little bit of extra jazz. Why not play around with some glitter or metallic shades? You can also experiment with shapes - geometric designs have been making quite a buzz lately.
- Sparkly silver or shimmery gold polishes can give your nails a festive look.
- Geometric patterns using two or more colors can create a bold statement.
- If you're going to an elegant event, consider deep reds, berry hues, or even a classic French manicure with crystal accents.
On special occasions, don't shy away from embracing bolder nail art designs.
Holiday-Themed Nail Art
Holidays are the perfect excuse to go all out with themed nail art. Think pumpkin designs for Halloween, red and green patterns for Christmas, or pastel florals for Easter.
- Christmas: Try red and white candy cane stripes, or a cute Santa hat design.
- Halloween: Go bold with black and orange patterns, or opt for cute ghost or pumpkin designs.
- Easter: Pastel shades with floral designs or cute bunny art can be a hit!
When it comes to holiday-themed nail art, let your creativity and the holiday spirit guide your choices!
Mom's Night Out
Mom's night out is all about relaxing, letting your hair down, and just being you. Your nails should reflect that liberated, fun mood.
- A vibrant, glossy finish in fiery red or a chic, dark berry can speak volumes about your cool mom-attitude.
- Glitter tips or a shimmery topcoat add a touch of glam to any color.
- Subtle nail art like a pearl accent nail or half-moon designs can be just as enticing.
Remember, the most important element of nail art for mom's night out is to choose design and colors that make you feel fabulous and confident!
Nail art for different occasions is all about getting playful with your usual style while still expressing your personality. So, don't hesitate, pick up that polish, and let your nails do the talking!
Caring for Your Nails Post Nail Art
Nail art has undoubtedly become a booming trend in the fashion industry. From sparkling gems to intricate designs, nail art allows us to express our individuality. But with greater beauty sometimes comes a price: damaged nails. Fear not, fellow nail art enthusiasts! Let's dive into some practical and effective methods to care for your nails post-nail art.
Removing Nail Art
I can't stress this enough: proper nail art removal is absolutely crucial. Neglecting this step can cause peeling and weakening of your nails. Here's the good news: you don't need any fancy products to do this!
- Use a good quality acetone-free nail polish remover. The acetone-based ones can be harsh on your nails and can cause them to become dry and brittle.
- Dip a cotton ball in the remover, press on your nail for a few moments, then gently wipe off. No scratching, no scraping!
Remember: Be patient with the process. Give your nails the gentle care they deserve.
Moisturizing and Hydrating
Hydrating your nails after removing nail art is like giving a drink to a thirsty person - it hands-down makes things better!
- Moisturize, moisturize, moisturize! Use a good hand cream or cuticle oil regularly. This acts as a barrier against water and harsh chemicals, reviving your nails and skin.
- Get the magic of DIY. Make your own hydrating soak with olive oil and warm water, and treat your nails to a nourishing bath for about 15 minutes once a week.
"Hydration not only makes your nails look shiny and healthy but also accelerates growth," says America's renowned nail artist Jenna Hipp.
Taking Breaks Between Designs
This might sound suspicious, but trust me, your nails need breathing room. Just like we humans need breaks between heavy tasks, nails too need time to restore and strengthen.
- After a nail art, leave your nails naked for at least a week.
- During this break, continue with your moisturizing routine, and don't forget to eat nail-friendly foods, like protein-rich fish and vitamin E packed nuts.
- Patience is the key. Consistent care will bring those dreamy, strong, and healthy nails faster than you expect!
Remember, nail care should not be an afterthought. Prioritize it just as much as you would your nail design. By following these simple do's and don'ts, your nails will continue to be as fabulous as your nail art. So go on, bring on those nail art masterpieces and let your hands do all the talking!
Conclusion
Embracing the world of nail art can be an exciting and empowering journey, especially for busy moms seeking a personal pampering moment. On top of that, creating beautiful, vibrant designs on your nails is a fabulous way to express yourself creatively and brighten your daily routine. Remember, taking time for personal care isn't just a luxury—it's essential for your well-being.
With the tips and techniques I've shared in this blog, you're now equipped to take your first, or next, step towards shaping an even more stunning you, right from the tips of your nails. But if you ever feel the need for professional touch or for some specialized styles like the Russian manicures, short acrylic nails or pedicures, you know where to find me. I am just an appointment away, ready to help nail your look at Nina Nailed It!
Moms, let's conquer the world, one nail at a time! That's all for this time, stay fabulous and see you on your next nail adventure.

Frequently Asked Questions
-
What are some popular nail art designs for moms?
Some popular nail art designs for moms include floral patterns, pastel shades, glittery accents, negative space designs, and accent nails with cute designs like hearts or stars.
-
Are there specific nail art designs that are easy to create?
Yes, some easy-to-create nail art designs for moms are polka dots, ombre nails, simple geometric patterns, and French manicures with a twist like adding a colorful tip or accent nail.
-
Where can I find inspiration for nail art designs?
You can find inspiration for nail art designs on social media platforms like Instagram and Pinterest, beauty blogs, or by searching for nail art tutorials on YouTube.
-
What tools and materials will I need for creating nail art designs?
To create nail art designs, you'll need nail polish in various colors, a base coat and top coat, nail art brushes, dotting tools, striping tapes, rhinestones or studs, and a quick-dry top coat for a long-lasting finish.
-
Are there any nail art designs that are suitable for special occasions?
Absolutely! There are nail art designs suitable for special occasions such as weddings, holidays, or birthdays. Examples include elegant lace patterns, festive glitter designs, or themed designs like snowflakes for winter holidays.